ONE SCANNING SOLUTION
START TO FINISH
How it Works
A spinning and rapidly pulsating laser beam rotates around the vertical axis emitting 1 million points per second. Each pulsating beam of light then bounces back to the scanner. Based on a precise measurement of the time the beam traveled to and from the object, the scanner is able to accurately determine the distance of a specific point. Then by using this distance with a reference laser distance and the angle of the mirror the scanner is able to determine the specific location of a single point. Then by merging a photo with the scanned data a photo realistic 3D point cloud is created.
Step 1 – Field Scanning
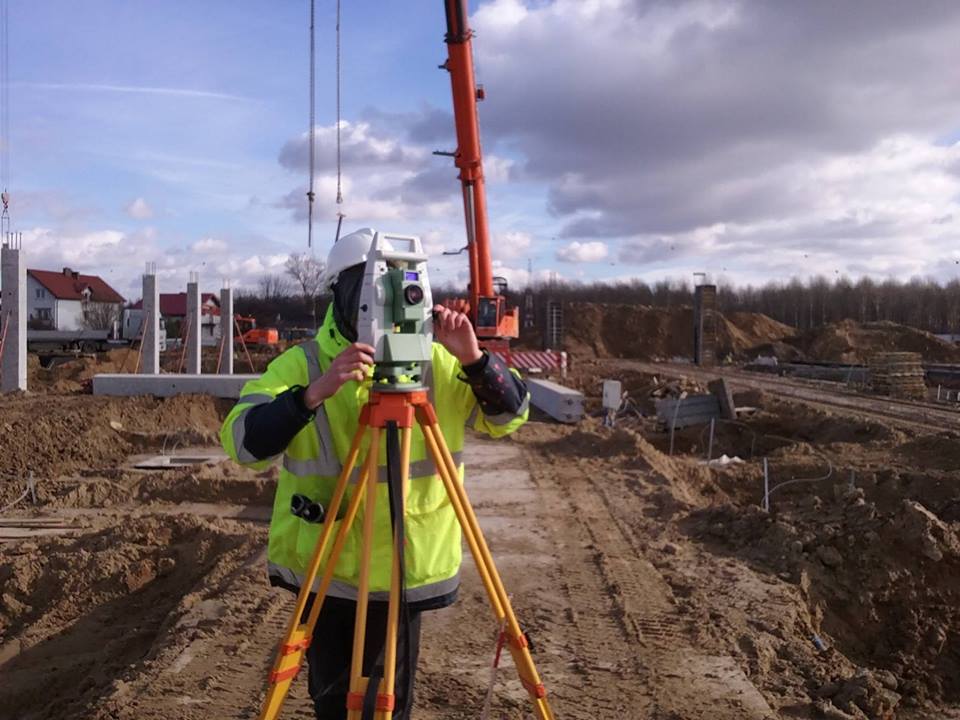
Our expert surveyors use industrial grade ultra-high speed Leica scanners to take into the field. They then position the scanner and targets to get a scan from each vantage point around an object to make sure that they have scanned all surfaces included in the object.
Step 2 – Registration
Next the raw data that has been captured with the scanner is loaded into special software that stiches each scanned vantage point together to create a single point cloud. This process is called registration. The scans can also be accurately referenced to through the use of geolocation.
Step 3 – Publishing
After registration a variety of deliverables can be published: 2D Plans and Elevations, Panoramic Images (that enable measurements to be pulled from the image), Section and Profile Views, Wireframe and Surface Models.
3D SCANNING
Improved Retrofit Designs
Designers frequently have to design in and around existing structures for projects. Starting with a 3D scan of the existing structure and area gives a clear and accurate understanding of exactly where the current structures are located. This results in eliminating interferences and making sure that necessary clearances are maintained.
Quality Control
Scans can be used to evaluate “as-built” constructions as verification that they met the design criteria.
Increased Productivity
Industrial projects often have tight timelines for completion. By being able to quickly and accurately gather all of the existing measurements needed, the design teams are able to begin work more quickly. This expedites the overall project schedule.
Quickly Evaluate Concepts
A point cloud can allow you to quickly and accurately evaluate how a proposed design will fit into an existing environment.
Facility Life Cycle Management
Once a scan has been performed and a point cloud has been produced, then accurate plant measurements can be taken from any part of the scan. This is helpful, not only for the current project, but for future projects as well.
Lower Surveying Cost
Manual surveying processes are time consuming and often require numerous days in the field to gather the survey information needed. Traditional surveying is also prone to costly errors, since one missed dimension could require a team to make an additional trip to acquire the missed measurement. With a 3D laser scanner the data acquisition happens much faster, and the likelihood of a missed dimension is greatly reduced.
The next time that you need engineering services, contact PDG and let our experts help develop a solution that’s right for you
